This article mentions Lightstream Prism
Prism is no longer available, but its multiplayer streaming features are now included in Lightstream Studio.
Lean how| Launch Lightstream StudioLooking to give your audience a unique viewing experience? Prism makes it easy to stream with up to 4 different player’s viewpoints to one or multiple channels. This tool is great for collaboration and cross-promotion opportunities with other streamers.
You can use any broadcast software you’re most comfortable with and it’s a breeze to setup. I’m going to walk you through how to setup a simple two person stream, you can either watch the video above, or read on for step-by-step directions.
Can’t wait to get started or want to follow along?
Creating a Prism Project
To get started, head over to prism.golightstream.com. The first thing I’ll need to do is select the number of players. Prism supports up to 4. Today we’re going to duo-stream so I’ll select 2 players.
Next we’ll see the project screen, where most of the magic happens. Let’s focus on getting each player set up, and then we’ll touch on some of the other features. I have 2 slots here in the middle – Player 1 and Player 2.
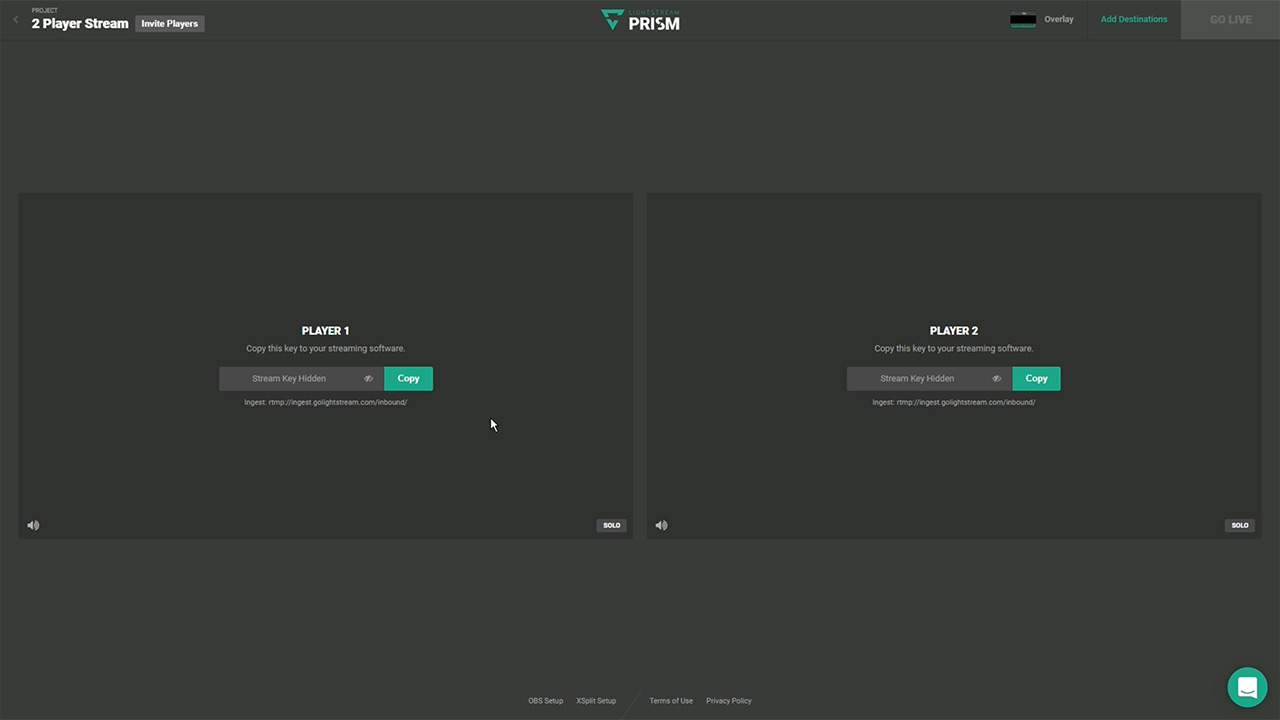
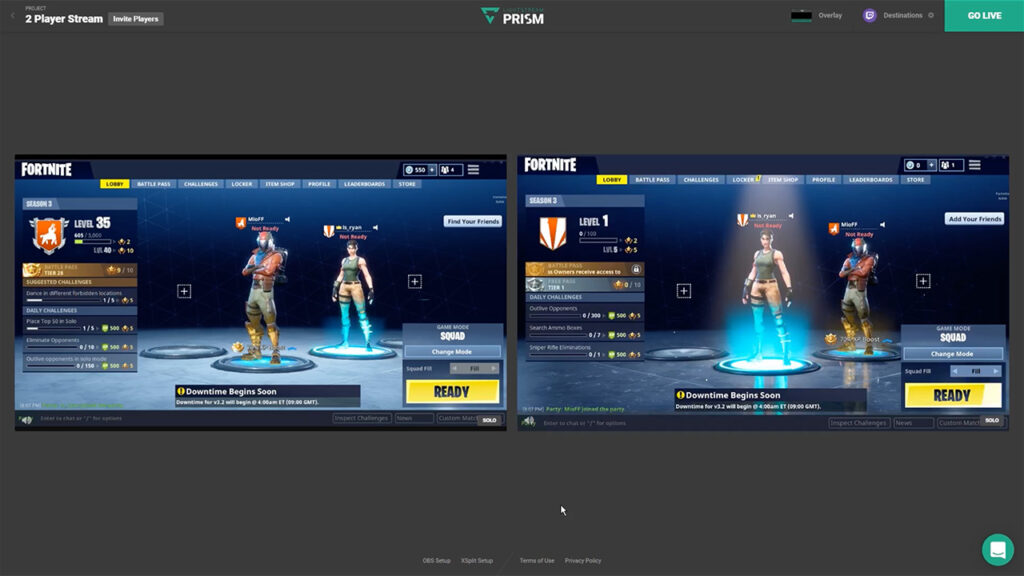
Initially, it shows us the ingest and each of the stream keys we need to use – this is what tells our broadcast software where to send the streams. Once we start streaming, we’ll see a preview of the streams here.
For this demonstration, I’ll be Player 1. I’ll copy the stream key and Ingest URL from the Player 1 area and then head over to my broadcast software.
OBS Studio Configurations
Any broadcast software that supports custom rtmp destinations will work. In this example, I’m going to use OBS Studio. Open the settings in OBS and click on Stream. Then I’ll paste the Ingest into URL and then paste the Stream Key into Stream Key. This will direct OBS to send your stream to Prism.
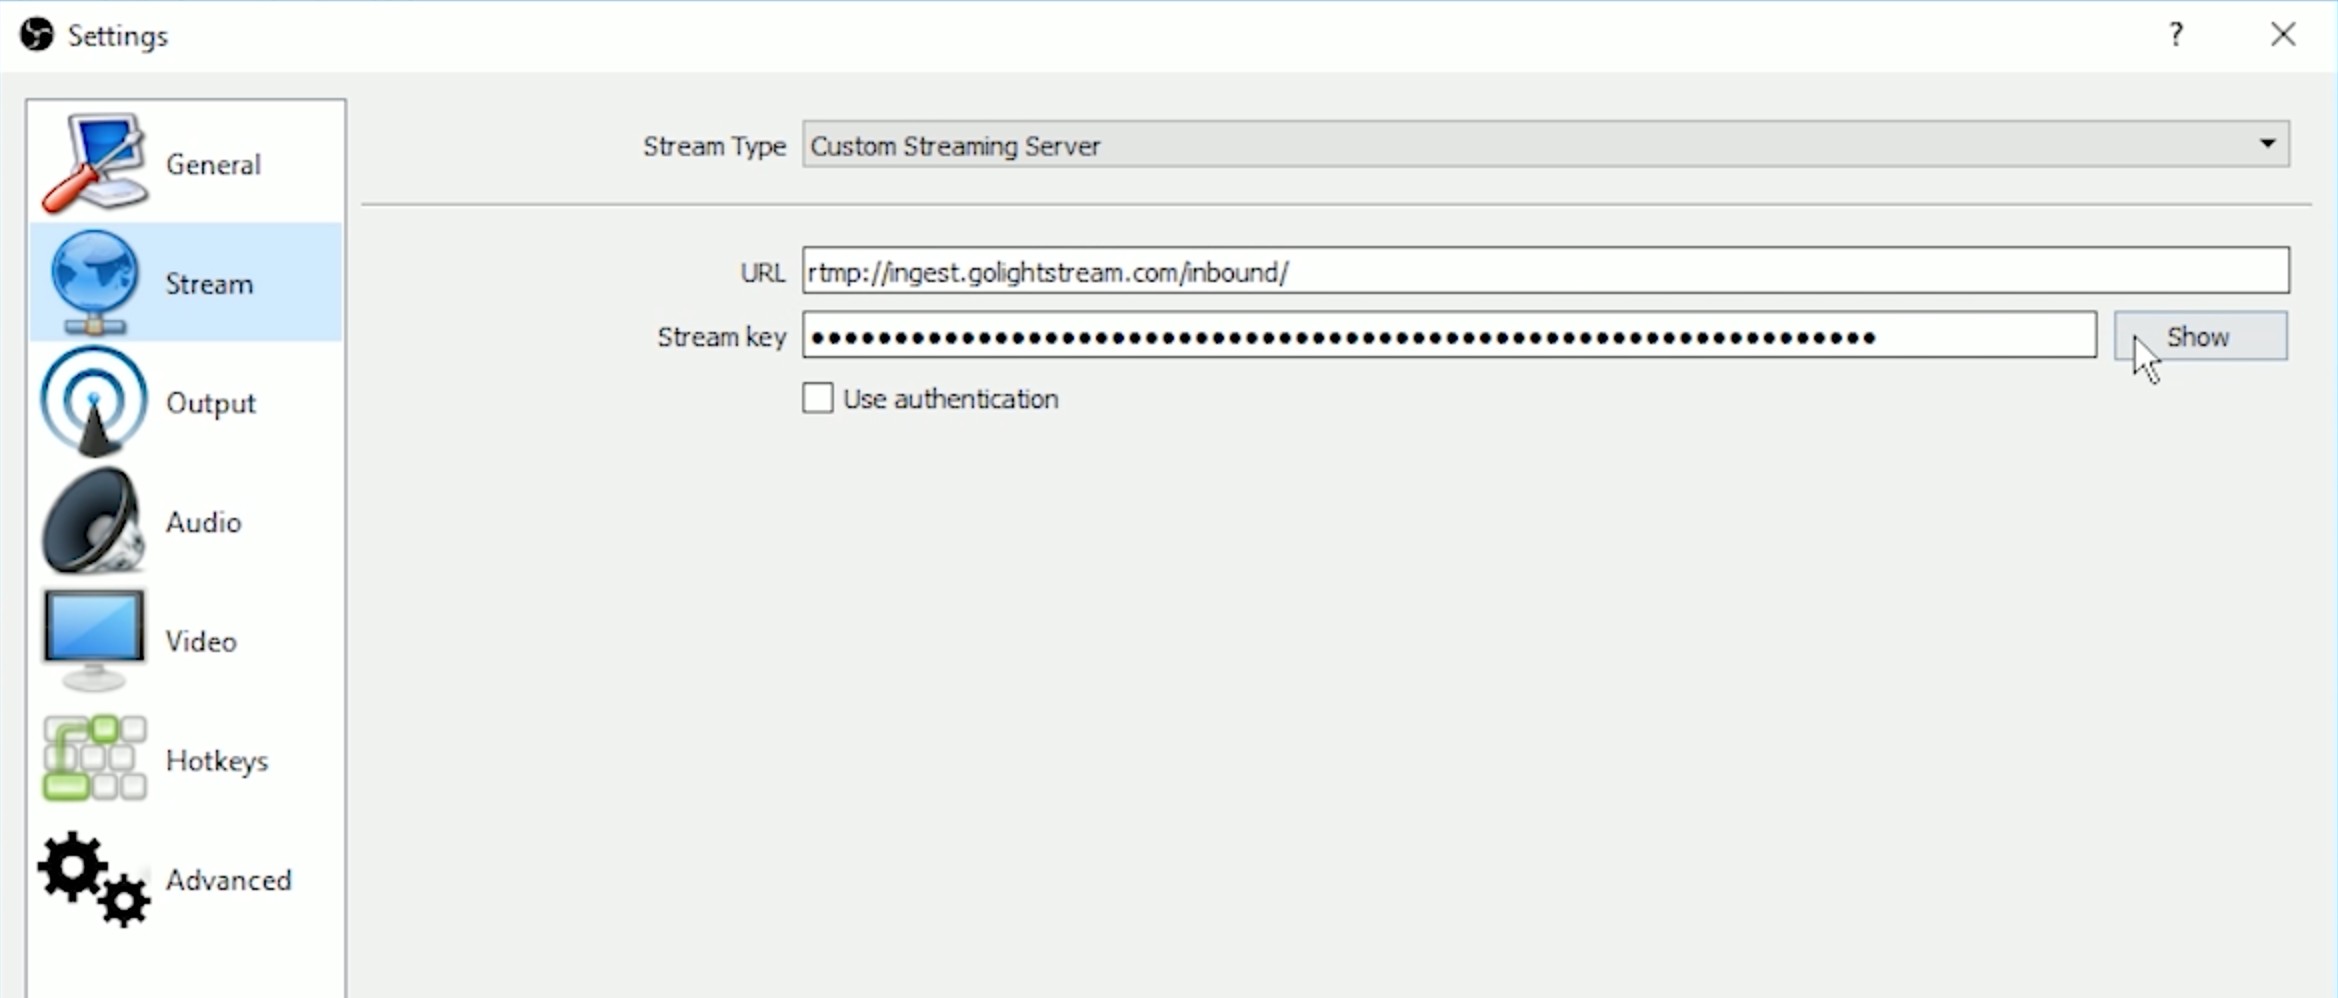
Prism will accept just about anything you throw at it, but we recommend the following settings within your broadcasting software to get the best possible results.
- Output: Set the video bitrate between 2000 – 3500. The higher, the better quality, but the more internet upload required.
- Output: Set the encoder to x264 and the audio bitrate to 160.
- Audio: Make sure the sample rate is “44.1 kHz”.
- Video: Use 1280×720 and set the FPS to 30.
Now that our settings are all good to go, I’ll prepare my scenes in OBS like I normally would and click Start Streaming. It’s important to note that my stream is going to Prism, NOT my Twitch channel (yet). As soon as it’s being received, the feed will appear in my Prism project. Let’s jump back there now.
Ready Player 2
 Now that I’ve got my feed coming through in the Player 1 location, I’ll need to get my friend’s feed coming through in the Player 2 slot. To do this, I’ll click “Invite Players” in the top left to copy the project URL to share it with my friend.
They just need to start streaming to Prism using the same steps we just followed, except they’ll use the Ingest and Stream Key for Player 2. Both players will see the feeds coming into Prism once they’re streaming to it.
Audio Controls
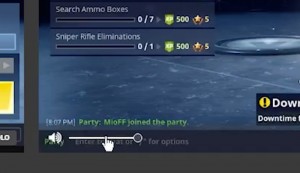
Audio controls for both streams are located in the lower left of each viewpoint. We recommend muting everyone’s game feed but 1 player to keep the sounds from being overwhelming.
Our audience can still hear the other players’ voice as they will be captured through my voice chat software.
Alternatively, advanced users may also opt to use audio routing software such as a Virtual Audio Cables to get a similar effect with higher quality audio.
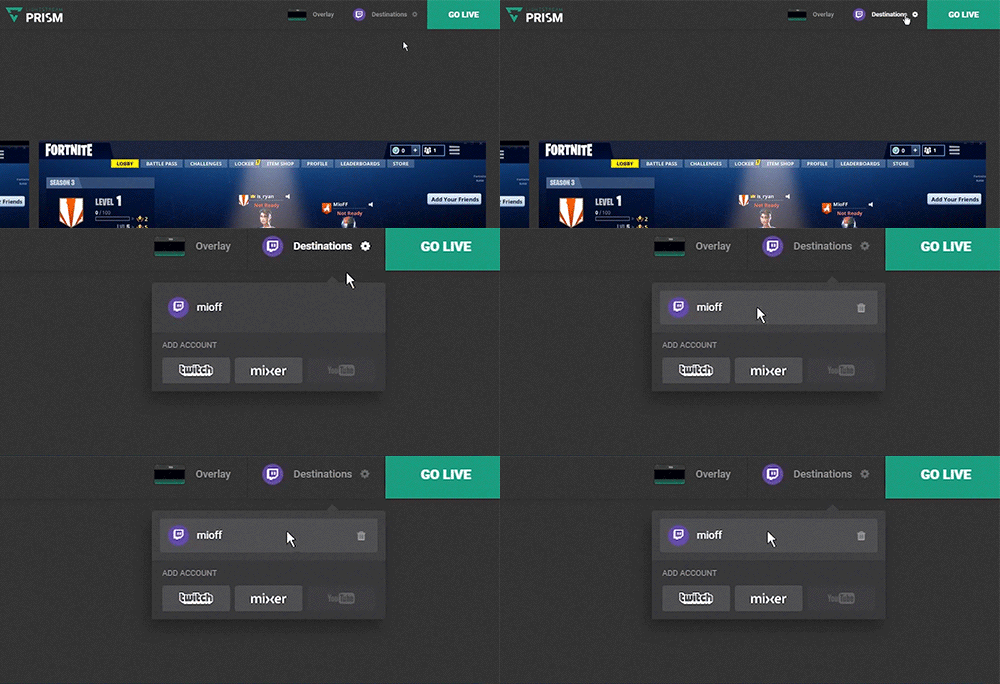
Add Destinations
The last step is to tell Prism where to send the final stream. For this, come up to Add Destinations. This is where my friend and I can both simply login to add one or both of our channels.
Bonus Round
We’re all ready to go live! But before we do, let’s look at a few other controls we have.
- Overlay: By default, Prism will put an overlay over the stream. In the top right, you can click Overlay to see a preview of it and swap out the default with a custom one. We provide templates so you can easily create your own.
- Solo: Solo buttons are in the bottom right of each player’s feed. Click this while live and the selected player will take over the entire stream. Click again to toggle it off and return to the sweet split screen action. This is great to use when you need to focus on a player’s action, for a starting soon screen, when swapping out players, or if one teammate is out of the match. No one wants to watch the dead guy.
Go Live!
Alright – our feeds are added, overlay is in, and our channels are authenticated. The last thing to do is just click “Go Live”. Simple as that.
When you’re done streaming, be sure to remove your destinations from Prism so no other streams can go to your channel. As an extra security measure, Prism does not save any projects (each project is one-time use only), so when the last person closes the browser tab your destinations and Prism project are cleared out.
Prism is a great way to create some truly unique content, give some variety to your audience, and play with friends. It’s also incredibly powerful for popular show formats like speed running and for charity or marathon streams where you want to swap people in and out over a long period of time.
We hope you enjoy it and can’t way to see what you create with this tool. Please hit us up on the in-app live chat if you have questions. Happy streaming!


