Today we’re excited to announce we’ve added the Screenshare layer to our Gamer projects!
A lot of you may be wondering:
“Does this mean we can stream computer games in the Gamer project?”
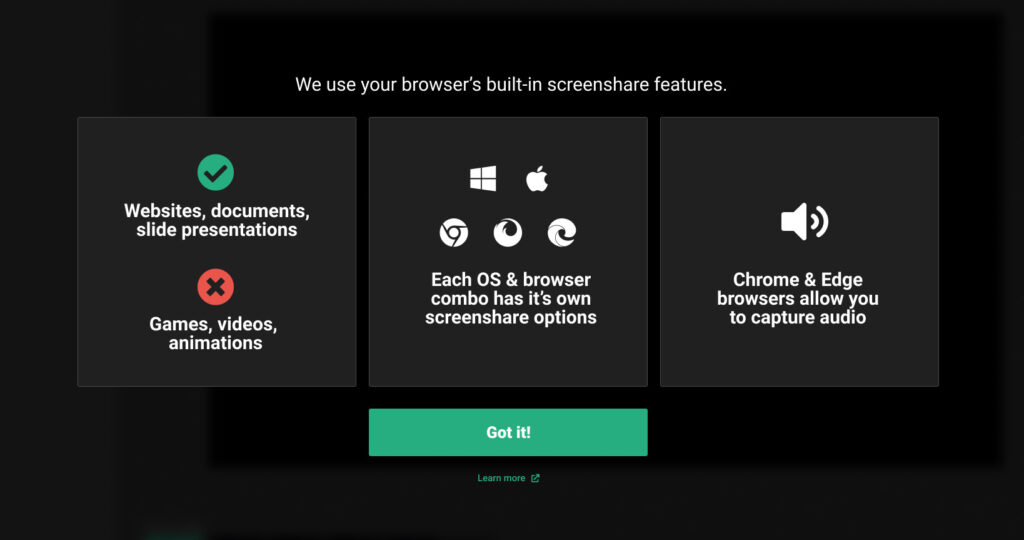
Unfortunately not just yet as that’s not what that layer type is meant for, but computer game capture is on our radar for sure!

There are quite a few different uses for the screenshare layer, depending on the type of story you’re trying to tell. We broke down a few possible scenarios below.
Music
Adding music to your stream is a great way to get your viewers to “Toss a coin to their Streamer” for your great taste!
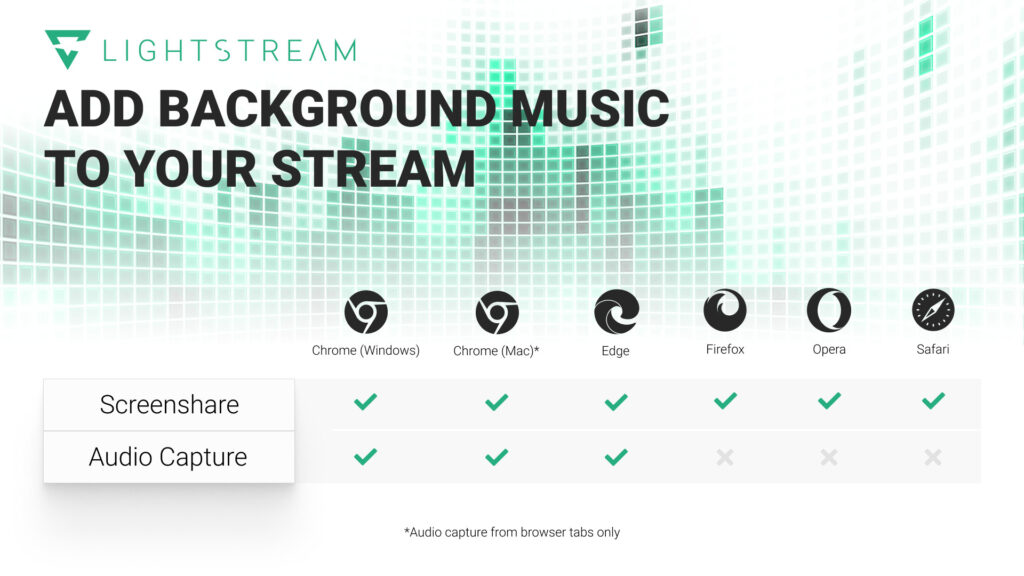
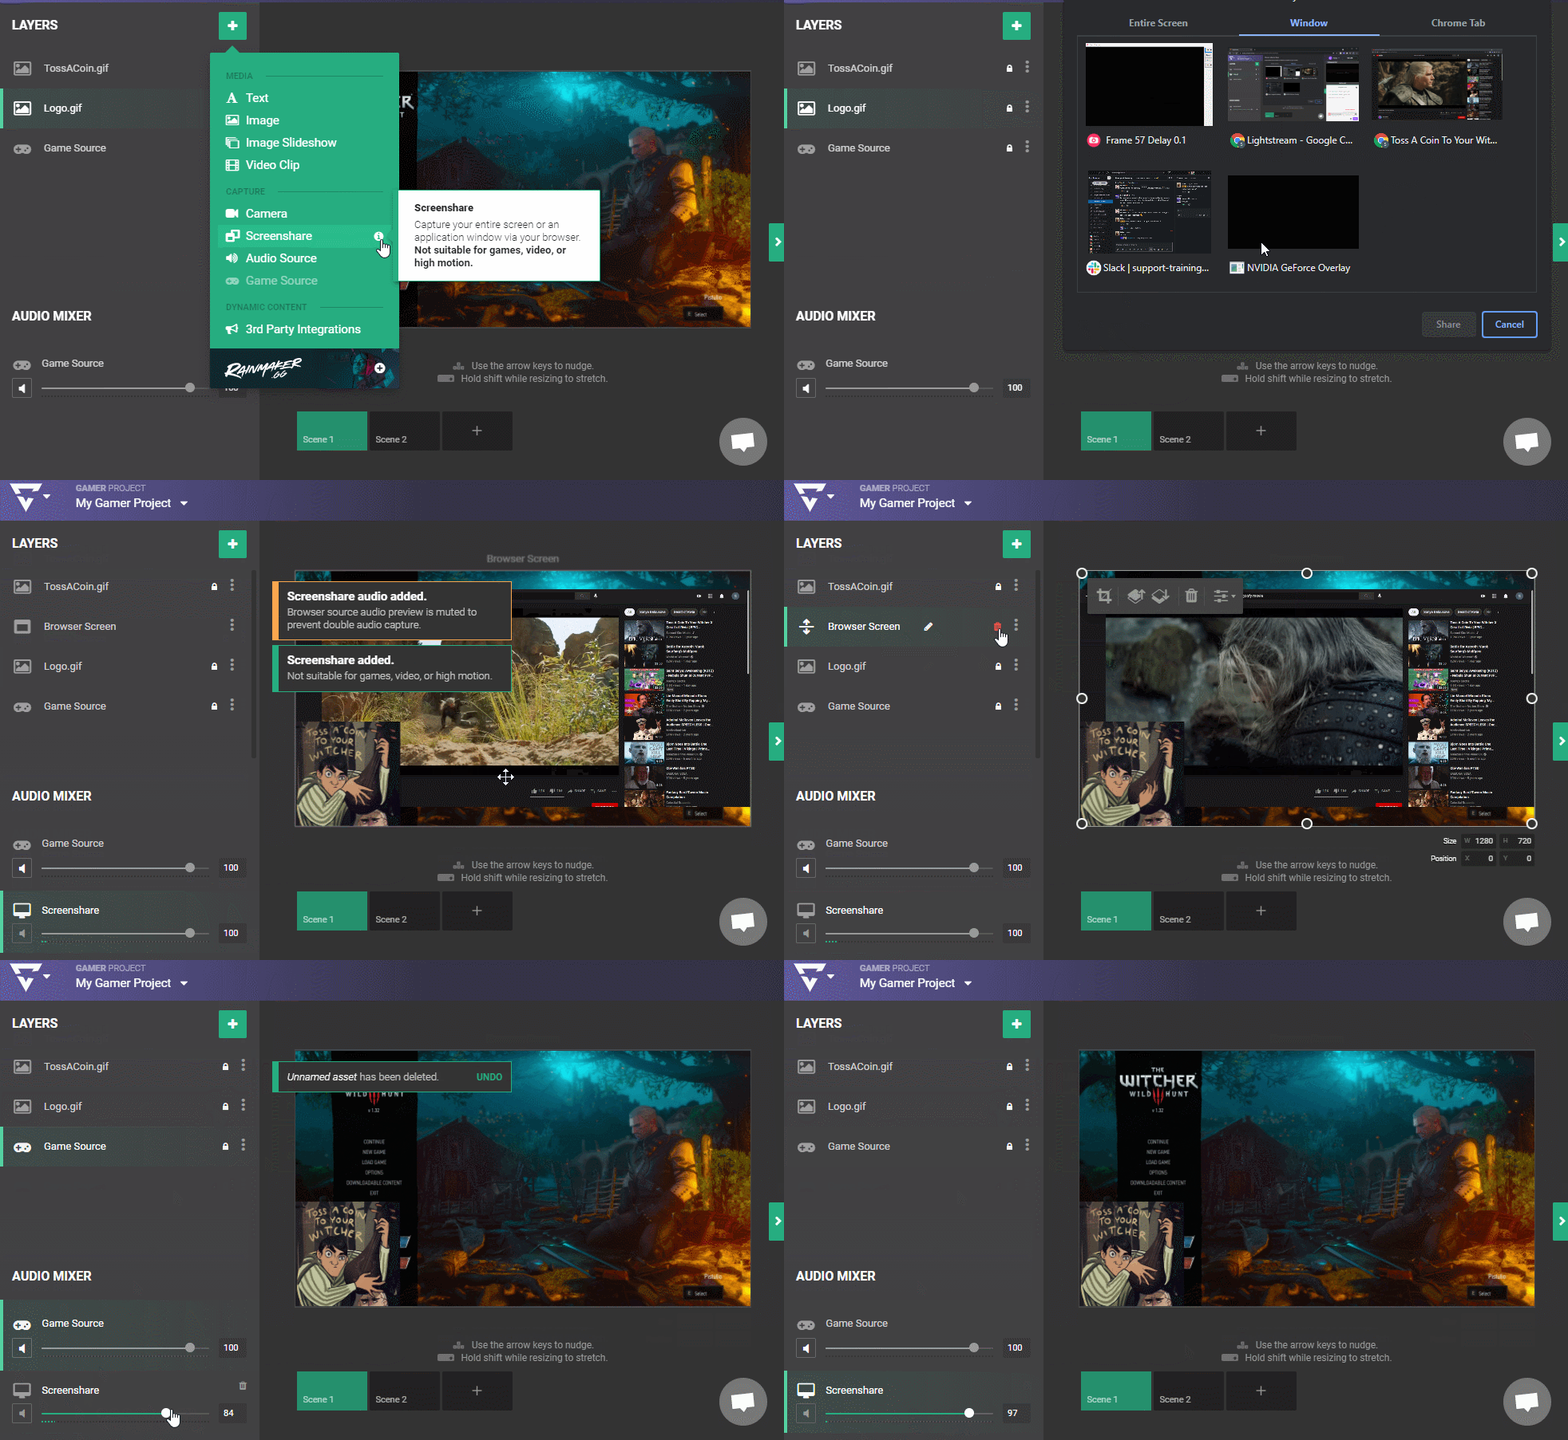
To do that you’ll simply add the screenshare layer from your Chrome or Edge browser and check the option to include your audio as well.

Once added to your scene, you’re free to delete or hide the visual part of the layer from the Layers section if you only need the audio. You can also make adjustments in the Audio Mixer area should you need to change the volume or mute it entirely.

Presenting
Let’s say you just wanted to show something to your audience. The Screenshare layer is a great way to do that!
This can be anything from…
- “Just Chatting” streams where you discuss current events, cool videos, or your favorite topic
- Dungeons & Dragons maps/character sheets or checking a strategy guide
- Some low FPS turn based or trivia games may also capture OK using this method, like Jackbox Party Games for example. Fast moving games aren’t viable via Screenshare. (Content under 10 FPS)
- Art programs, music software, and coding
- to showing an actual powerpoint presentation
Depending on what you’re trying to capture as well, not all Screenshare methods will work properly. So you may need to experiment with sharing your “Entire Screen” vs “Window”.
Note: Sharing “Your Entire Screen” will include all audio on your computer. Where as “Chrome Tab” will only allow the audio from that browser tab.
Now go forth to create new and exciting content!


