
Through live streaming, you can create any experience you want, right from your home. It’s pretty magical how a few simple changes to your screen can transform a broadcast. We put our heads together to share some of our favorite pointers and resources for making really good looking streams.

Common Design Elements
We intentionally built Studio to be completely flexible when it comes to design – you have the control to place any element exactly where you want it in your stream’s scenes. When we say “elements,” we mean:
- Overlays: A fancy way of saying borders or frames around your screen or webcam. They are made up of a static or animated image, video, or web source that lives as a layer of your stream.
- Text: On-screen text can be a great tool and guide. Studio lets you adjust every element of how text is positioned and styled, and includes interactive features so text can blink or scroll.
- Logos: This can be your logo or a sponsor logo, typically placed in the corners of the screen.
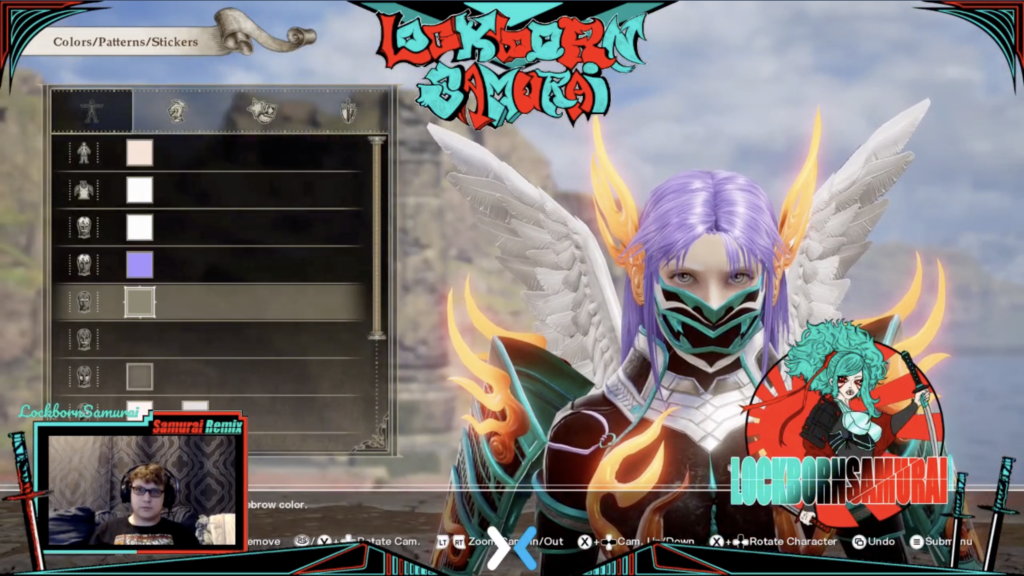
A Closer Look: Overlays
When it comes to your stream’s design, overlays are the most powerful visual cue you can bring in. Different overlays are to your stream what different spices are to a meal – they add depth of flavor and transform the ingredients into an experience.
- Full Screen Overlays – Background: Image, pattern or graphic that wraps the full screen and includes a dedicated box for your webcam.
- Full Screen Overlays – Foreground: Designed layer lives as the top layer of your stream. Think of this like a frame, and your live video feed goes “into” it.
- Partial Overlay: A portion of the screen includes a consistent locked design. Some refer to these by the specific area they take up (i.e., “Upper third” or “lower third”).

Designing Overlays for your Stream
If you’re looking to design a custom overlay, you have two options: 1) design it yourself – we’ve included some tools for doing this below, some are free, some involve a fee or membership; or 2) hire a design service or live stream producer.
If you choose to commission an artist or team for your design, make sure to do your research. here are our top tips:
- Reviews: Do they have any reviews? If so, look for red flags from former customers. If they don’t have reviews, this could be a bad sign in itself.
- Portfolio: Every artist should have a portfolio of previous work. If they don’t, run for the hills. If they do, look it over (closely!) and see if their style matches with yours.
- Professionalism: Are they quick to respond? Do they seem organized? Are they respectful? Do they have a website? All these are good signs. Don’t underestimate professionalism; these artists are worth their weight in gold.
- Turnaround Time: How long do they usually take for projects? Faster does not necessarily mean better! Anything sooner than a few weeks could mean the artist is rushing your design.
- Scammer Alert: Sadly, the online design community attracts many scammers and con-artists. Some peddle stolen artwork, while others may take your money and disappear. Be on your guard.
- Price: How much do they charge for services? Be wary of very low price points; you get what you pay for. Great artists know their value and price accordingly. Don’t be afraid to pay a bit more for experienced creators.
- Where To Find Artists: The stream design community lives on Twitter, so take a look there first. Then search on Dribbble for artists posting their favorite work or accepting new clients. We also love Instagram and Pinterest for finding hidden gems!
Do-It-Yourself Design Tools
Studio makes it easy to bring in layers, such as an animated overlay from third party tools. But there are also quick and easy ways to create your own custom elements for your stream.
- Canva: Design custom backgrounds and banners to include in your stream’s scenes using a free or paid account. Its interface is highly user friendly, with drag and drop editing for text, photos, icons, stickers, shapes – you name it. When you are done designing, just download and then upload into Studio.
- Figma: A free, cloud-based design tool with comprehensive features and responsive designs/layouts. Start from scratch, or with existing social media templates.
Premade Overlays
Premade overlay templates are another great option, especially if you want to avoid the long waits and steep price tag of custom design (or the hassle of creating your own overlays).
While they may lack the complete personalization of custom design, premade overlays can offer a surprising amount of customization options. For example, you can often adjust colors, text and layouts – to build a look that matches your unique brand.

Premade designs are also much cheaper; usually between $15-30 for a full set (versus several hundred dollars for a professional custom look), and sometimes even free! They’re also a much quicker solution, allowing you to download, customize, and install your overlays all within the same day (versus custom design, which can take weeks or months).
One of our favorite sources for premade overlays is Visuals by Impulse. Their library includes hundreds of unique themes and colors, often for as little as $5. They have some of the best free options on the market too (a great choice for new streamers)!
Don’t Settle for Mediocre
If you’re putting in the time and energy to go live, you owe it to yourself (or your organization) to make it truly your own. The extra effort spent on design ensures you’re more than just a face – or grid of faces – on a screen. Have a question? We’re here to help you make your stream unforgettable.
